My Seed Starts
Week of 4/20/2017
Hi and thanks for checking out this week’s update on the seed starts! It’s been two weeks since transplanting sprouts from moist paper towels to seed trays. They’ve done considerably well if I do say so myself. A few things have died off, but that’s why we as gardeners plant more than we think we’ll need.
Most of the seed starts have their second set of leaves now. Still, I will wait a little while longer before adding fertilizer to their normal waterings. The last thing I want is a repeat of damping off or any other similar problem.
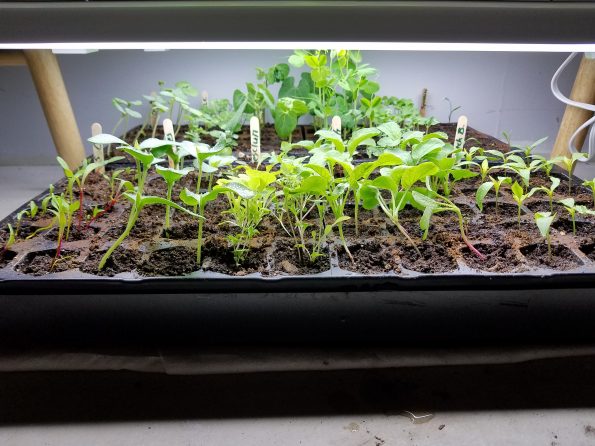
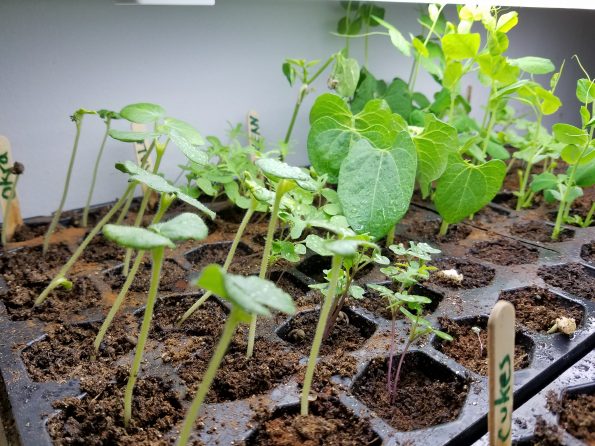
Front Tray
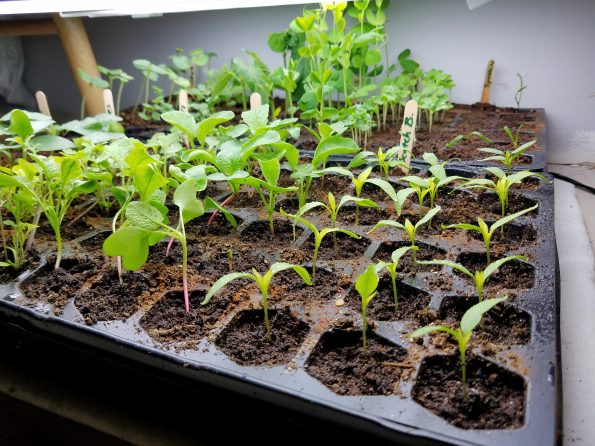
The Scotch Bonnet seed starts are looking fantastic. Seriously, I absolutely cannot wait to have a bunch of these peppers. The radishes look strong leaf-wise, but their stalks appear weak. Not sure what to expect of this going forward. Hopefully they stiffen up to support their own weight.

I’m happy to say that some of the Swiss Chard are coming around. Initially, I was afraid these seed starts were going to fail. The Cucumbers are doing great as well. They are growing so fast that I’m afraid they’ll become root bound if they aren’t moved to bigger pods soon.
In the middle, the Mesclun Mix is also doing well. Although I’m afraid they may be growing too close together and will eventually choke each other out. I’ve considered thinning these out several times. But since it’s a mix of different types of lettuce, I don’t want to trim away too much and miss out on good greens.
Rear Tray
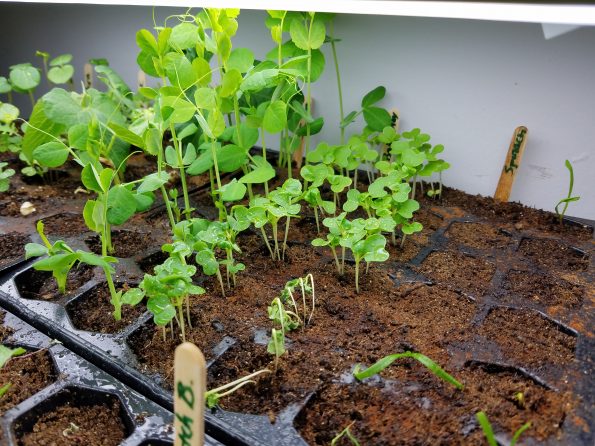
Spinach is coming in a little at a time, which I am grateful for. The first two pods of Pak Choy on the right have died. It started with the first, then the second started wilting. My Spinach also seemed to be wilting a little.
Fearing the worst (more damping off), I mixed water with a little hydrogen peroxide and watered the affected pods. Since then no more have died off. I can’t be 100% sure that this helped. But I do know that the Spinach that got doused are doing well.
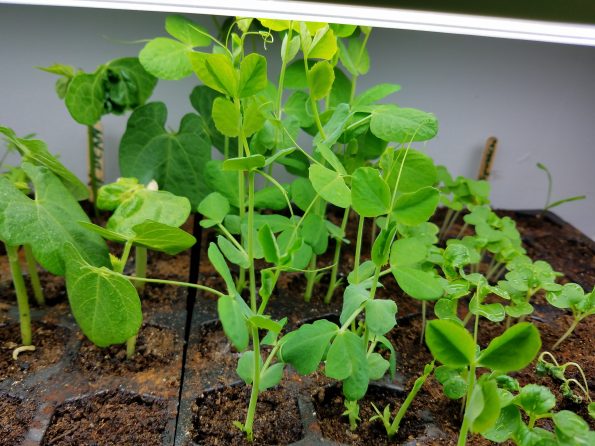
Holy cow at the Sugar Snap Peas! It’s funny to think that they started from seeds (not sprouts like most others) and have way outgrown everything else. Such is the nature of peas. They are one of the fastest growing vegetables, just like some of the other seed starts. But if this was a race, they’d definitely be in first.
What I find strange, though, is that the seed starts in the back along the wall grew faster than the plants in the front. It seems as though the peas grew a little better with slightly less light.
The okra is doing well, but no true leaves yet. Kale in the next pods over are doing great also. They have their second set of leaves. The Garden Beans are going strong, too. I’m afraid they may be outgrowing these small pods soon, like the Cucumbers.
All of these trays are split in half, so I will be rotating them soon. See how they’re all leaning over towards the light? Hopefully rotating the trays will cause everything to stand up straight.
Transplanted Sugar Snap Peas

One of my projects this week was transplanting the Sugar Snap Peas to larger containers. All I did was drill some holes in the bottom of red Solo cups, fill them with soil and transplant. Adding the wooden BBQ skewers was necessary as they were falling all over the place. Plus they’re tendrils are already out, and this will give them something to grab onto.
They did get a splash of liquid fertilizer. I have them sitting in one of the (sanitized) tray lids that I’ve filled with water, which will wick upwards. This should cause the roots to continue downwards like the other trays. I know there are cords everywhere, but they are safely away from water. Also, I went back and put a towel underneath them to insulate from the cold concrete.
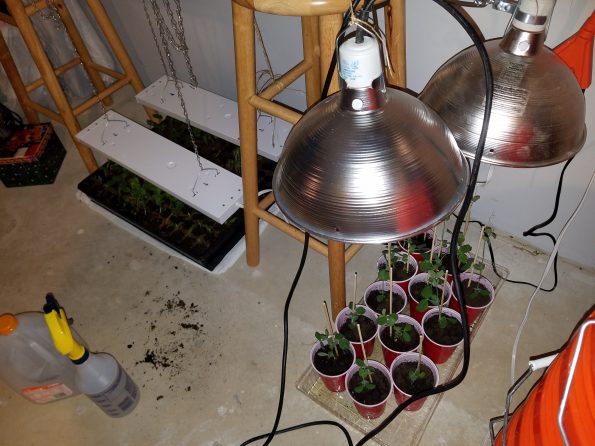
I had to resurrect the spotlight grow lights from the previous setup. It’s been about two days and they seem to be doing very well. Both lights aimed at the same tray-sized area appears to be plenty of light for them.
One thing I will say, virtually every plant seemed to grow very well during the dark hours. There would be noticeable differences in them almost daily when I go turn the lights back on. Which, by the way, I am still doing manually. It is slightly a pain, but it keeps me very attentive to the seed starts seeing when them twice a day.
Next Project: My Hugelkultur Raised Bed
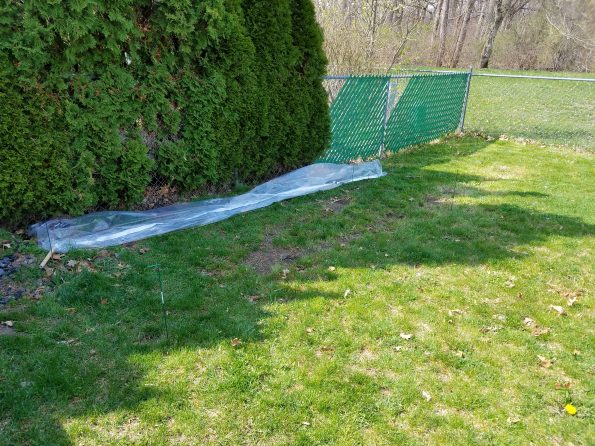
You probably can’t see where I’ve marked off in this picture. In fact, I never actually measured the length of the bed itself because the real concern was being far enough away from everything else. It is 4 ft from a concrete pad (to the left out of frame), 24″ from the neighbor’s fence and 32″ from the back fence.
At 48″ wide, it is about a foot wider than my other raised bed. Building it wider should keep it from having to be taller with a steeper peak. I’m going for a more gradual, hill-type slope. There is a lot of shade over the area in the pic, but this side of the yard gets full morning and early afternoon sun until about 2 or 3 PM.
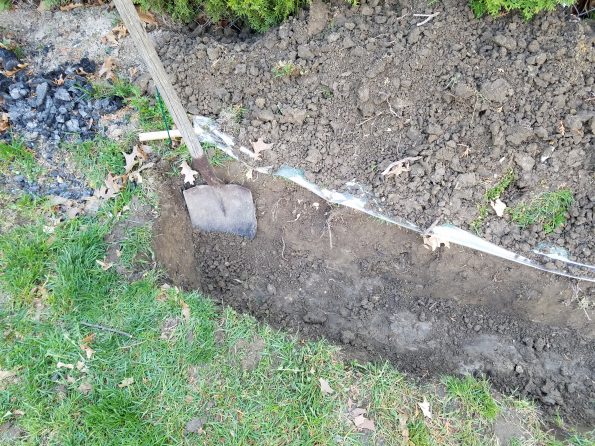
I’m digging down slightly deeper than the head of the shovel, approximately 1 ft. The purpose of digging, as I explained in my post about hugelkultur raised beds, is if I didn’t this mound would be much too tall for our liking. But if you’re planning to build your own, this step isn’t necessary.
Another purpose for digging is to bury a bunch of landscaping rocks in our front flower bed we want rid of. Lining the bottom will actually improve drainage, and we won’t have to pay a bunch of money to have them removed. I call that a win-win.
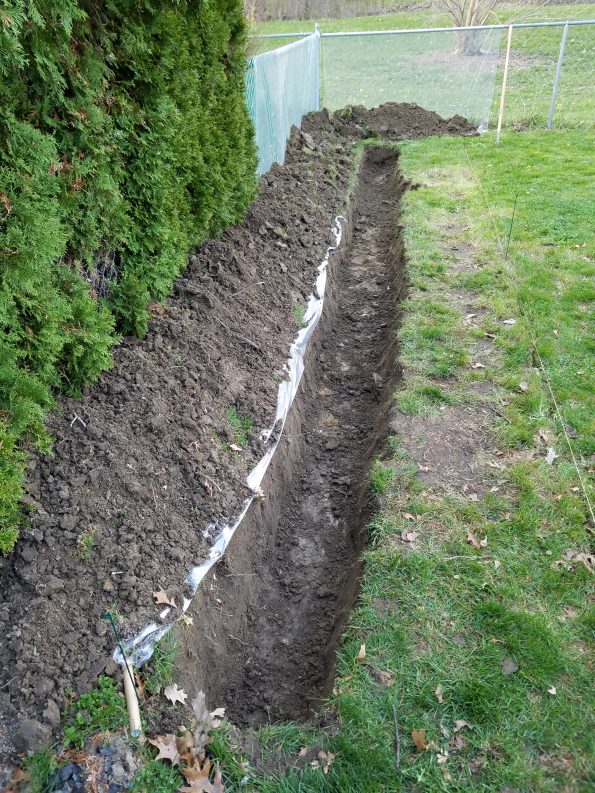
During the first day (4/15/2017), this was all I managed to get done. Partly because I ran into these…
Buried Lines
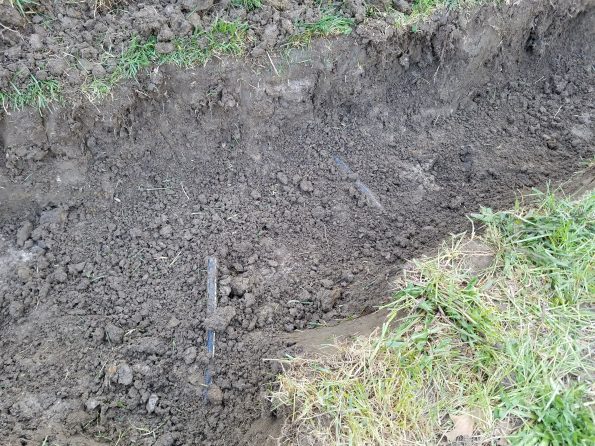
At first, I thought that I cut this buried cable when I uncovered it. But there’s no way I did that with just my shovel. I have a tool that tells if a socket has power and put it to the tip of the exposed wire. Nothing happened so I kept digging. Besides, it didn’t make sense for this random cut wire to be live.
I got about a foot further and found the other one, which wasn’t previously cut. Now I will say, there is a power box on the other side of the fence. Before digging here I asked my neighbor what he knew about the buried lines. He told me that someone told him they were about 4 feet down, so I wasn’t worried about them.
Once I got to the end of what was marked off it was about 7 PM so I quit for the day. On Monday I called a local “call before you dig” service. They sent out the power, phone and cable companies to mark off their lines. It is safe for me to continue, so as always I will update this project later.
Thanks for checking out this post. If you like it please share and subscribe for updates and tips from Grow To Save!