Simple Fermented Pickles Guide
Equipment
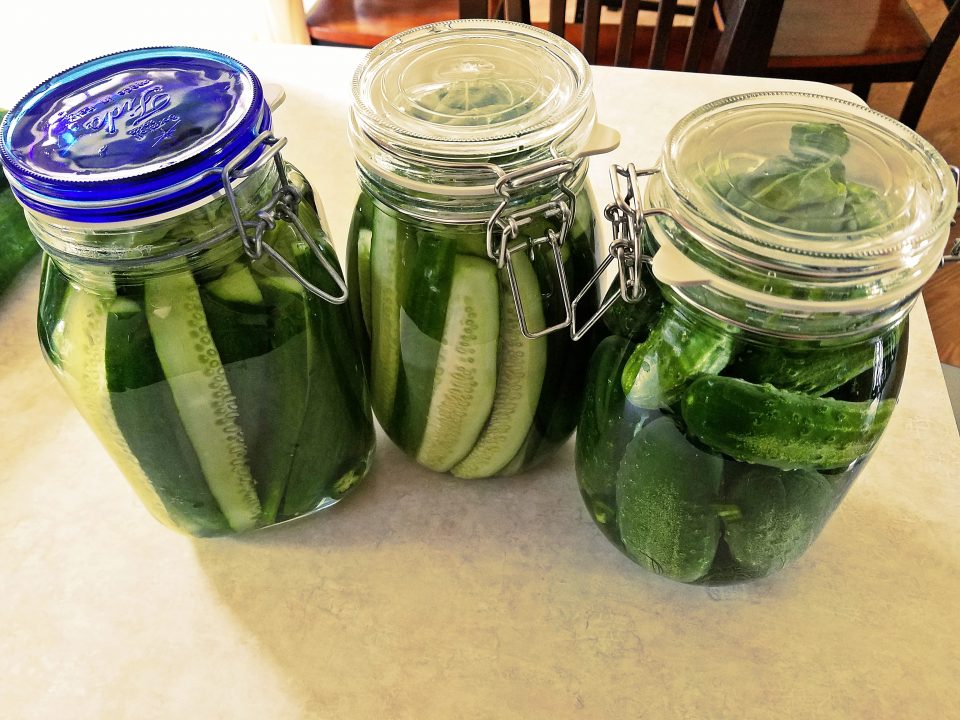
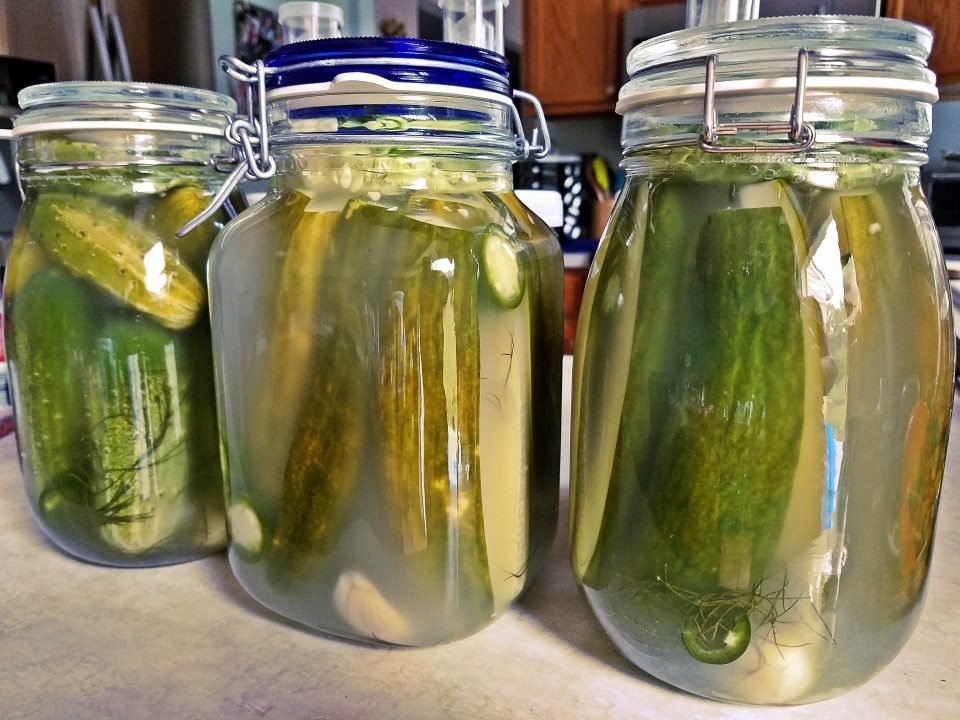
The right kind of jars make a difference. This clamp-top style has wide openings making packing easy.
The rubber seals let gases escape while also keeping air out, preventing harmful bacteria from growing.
This style is available in many sizes and you can get them much larger than…
Mason Jars
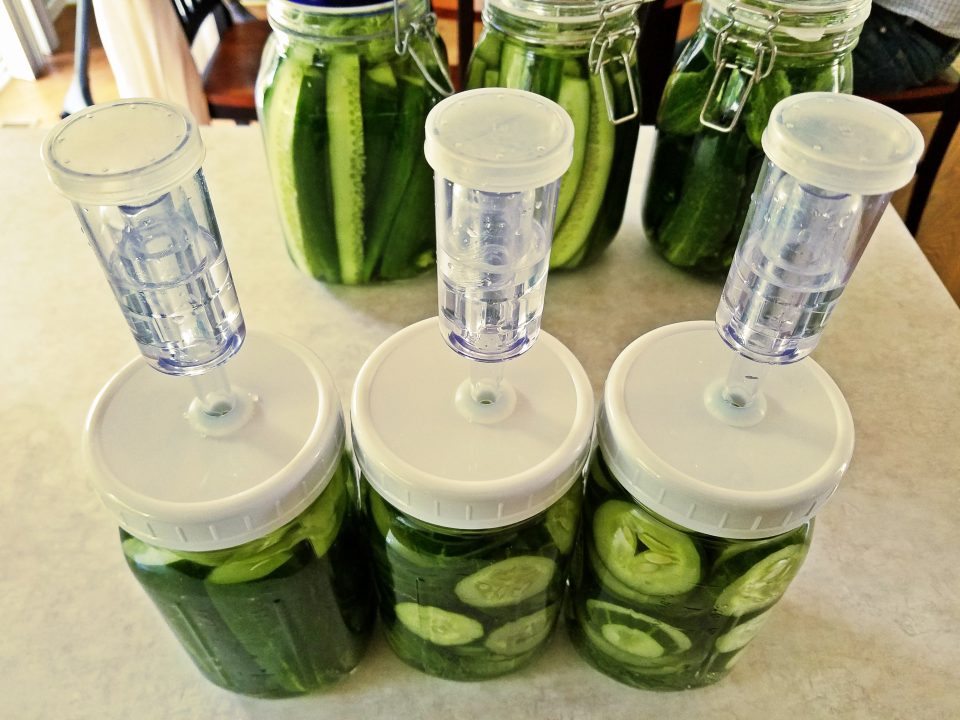
Quart size wide-mouth Mason Jars are also a great option for making pickles.
One advantage is that they will fit better in your refridgerator because they are smaller.
You will need special lids for the fermentation process.
Gather Ingredients
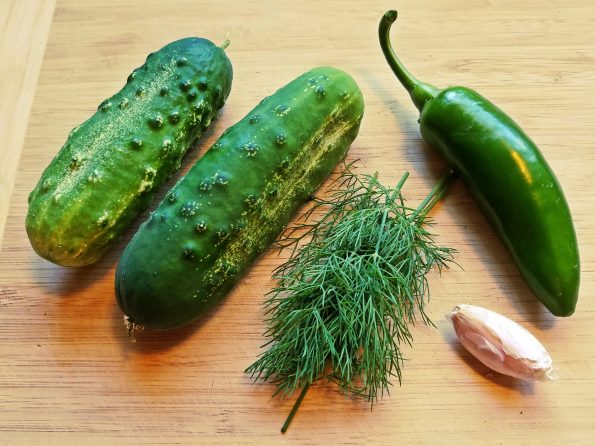
Keep it simple! All you need is cucumbers, fresh dill, garlic and jalapenos (optional). Something else you may need is cabbage leaves. This is explained later.
Preparation
Wipe down all counter surfaces with your favorite cleaner and wash your jars with hot soapy water. Sterilizing everything isn’t necessary, which makes this process simple and easy.
The salt will prevent harmful bacteria from growing until enough lactic acid has built up to preserve the pickles.
Next, scrub the cucumbers with a vegetable brush and wash all other ingredients with filtered water.
Tip 1: Peel the garlic but leave it whole as cutting it up can make your pickles extra garlicky.
Tip 2: Cut the seeds out of your jalapenos to get the flavor without too much heat.
Mix The Brine
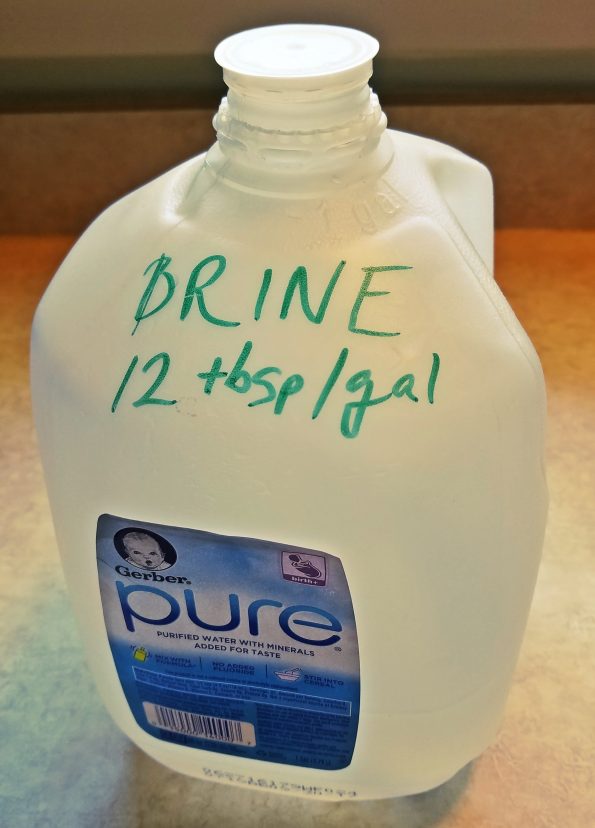
Make your brine with filtered or purified water. Not that chlorinated, fluoridated stuff from the tap.
Dissolve 12 Tablespoons of unrefined salt such as sea salt or kosher salt per gallon of water.
It may be easiest to warm the water a little in a pot on the stove and stir in the salt until fully dissolved.
Just be sure to let the it return to room temp before filling your jars.
Time To Pack Your Jars
Step 1
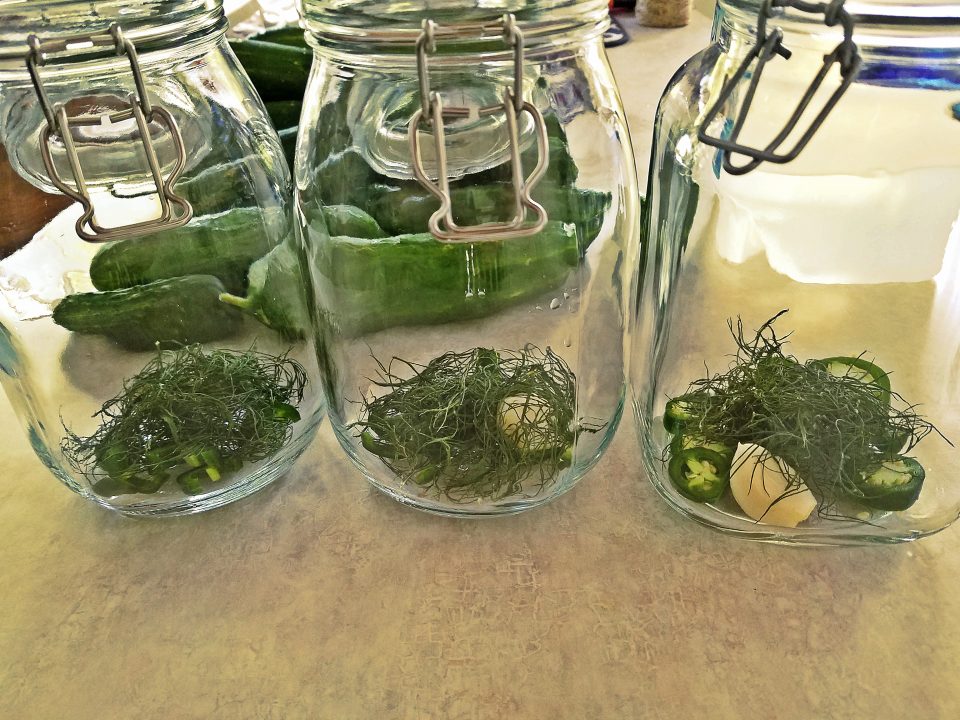
First, drop your dill, garlic and jalapenos in each jar.
Garlic can be overwhelming, so it may be a good idea to just use one clove per jar.
Notice that you don’t need too much dill.
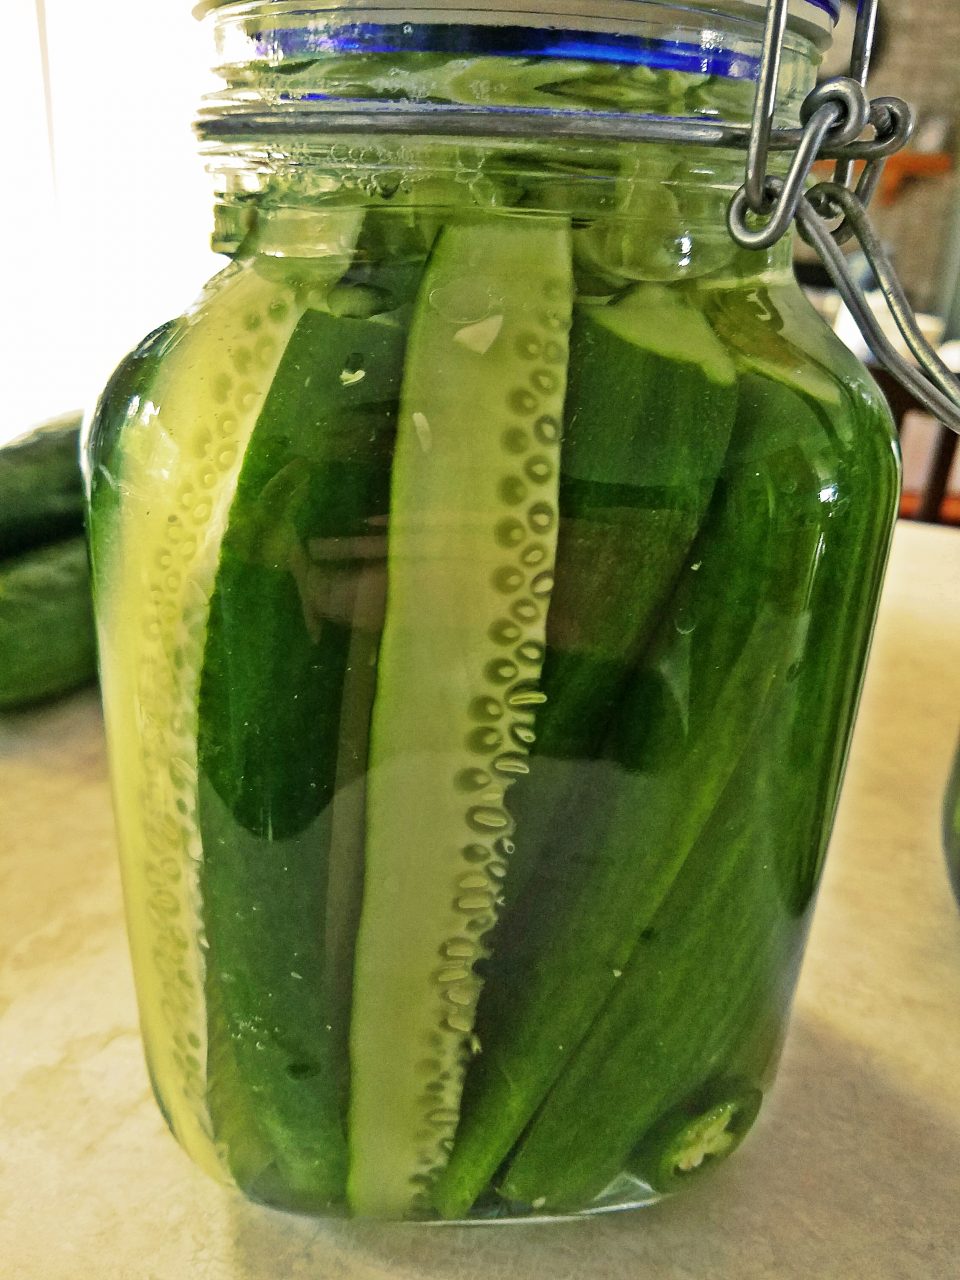
Step 2
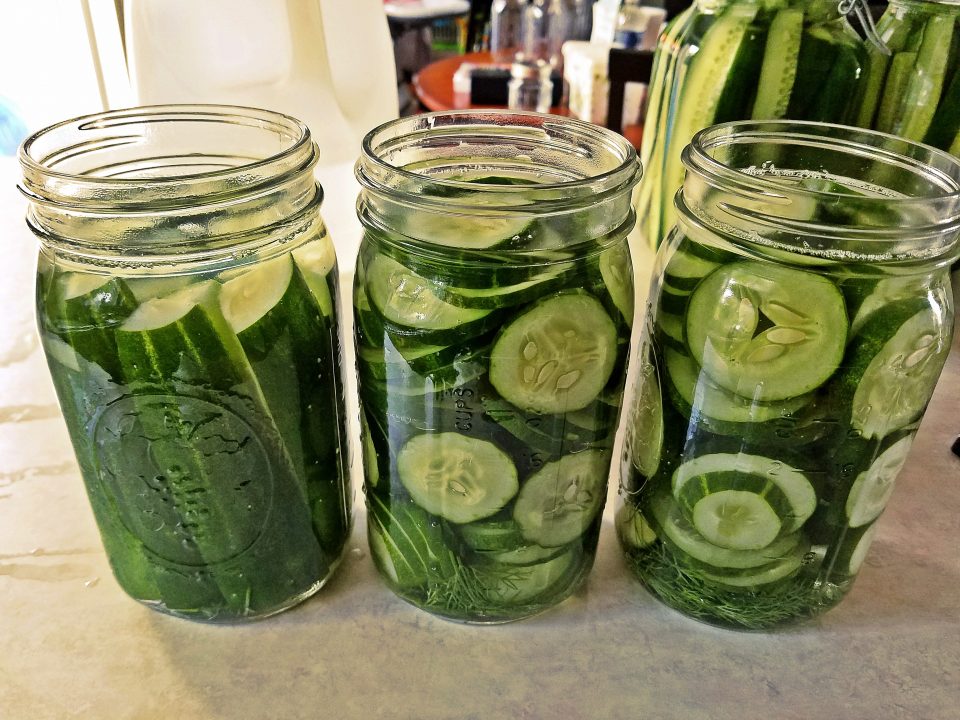
Next, decide how you want to cut your cucumbers.
Its important that your cucumbers do not sit higher than the lowest ring on the neck of the jar.
Hold spears next to the jar and cut down to the size you need.
Then pack them into the jars as tight as you can and pour in brine to slightly past the lowest ring.
Step 3
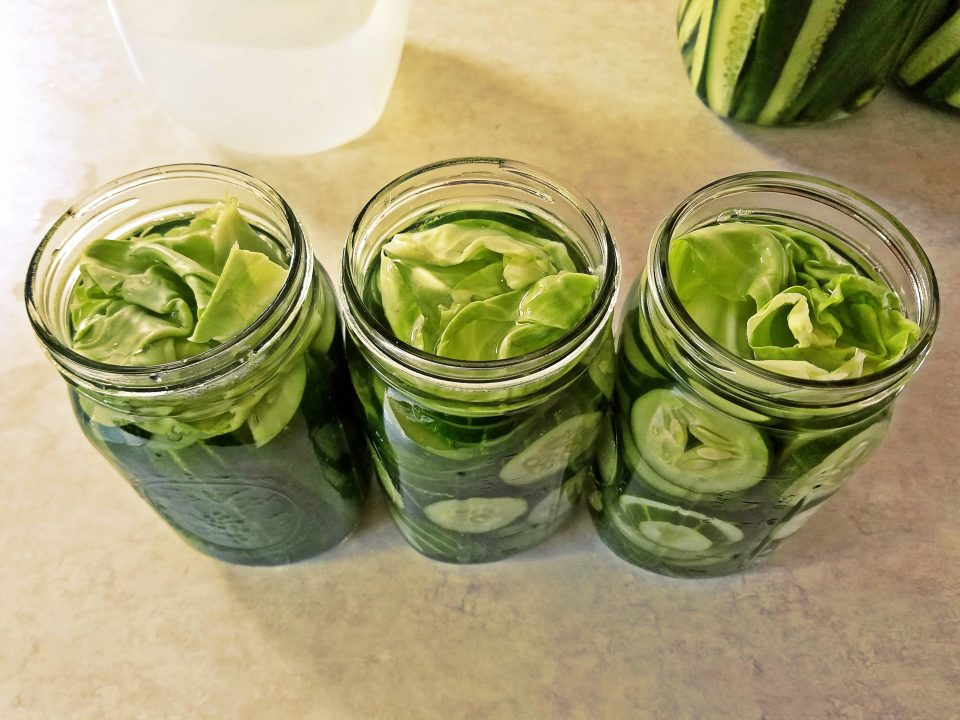
This step is important. Your cucumbers must say submerged in the brine to ferment safely and properly.
To do this you can use cabbage leaves as shown. Or you can purchase glass weights that are made just for this.
When the pickles are ready, simply throw the cabbage out. Be sure to pack enough leaves to keep your cucumbers submerged.
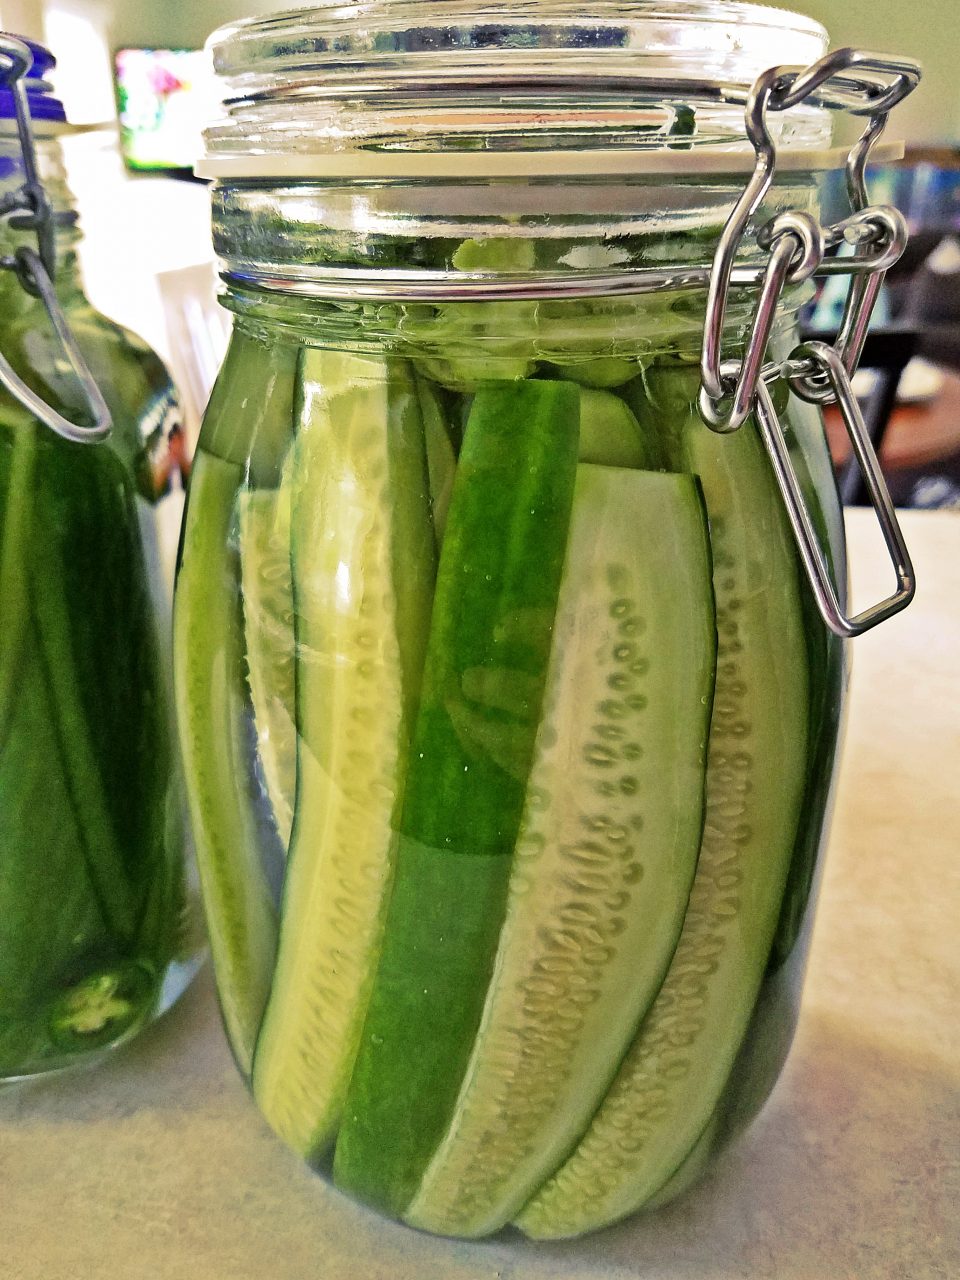
Step 4
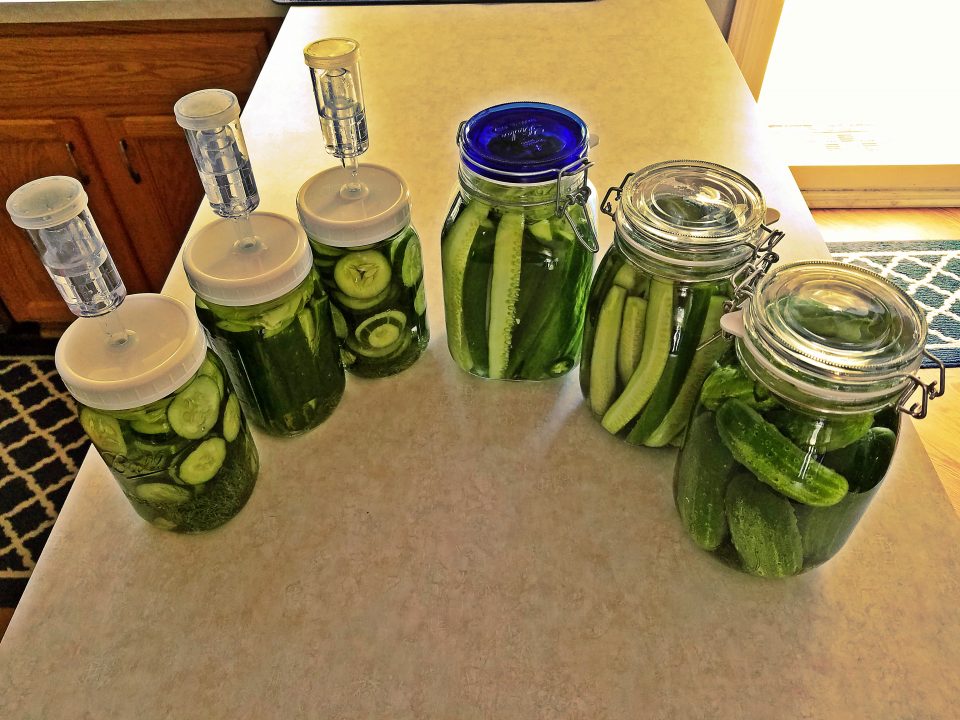
Final step. Put the lids on and you’re done! For the first type of jars shown, simply close the lid and clamp shut.
If you are using the special fermentation lids for Mason Jars, then just follow the instructions included.
Set your jars in a room temperature area around 75 degrees Fahrenheit.
Now Let Them Sit
Within a few days your cucumbers will begin to change colors and look more like pickles.
The brine will likely become cloudy but this is normal so don’t get discouraged.
Once a day or so you can walk by and gently wiggle the jars to send bubbles to the surface where they can escape.
IMPORTANT: let them sit for about 3 weeks. That may seem like a long time, but it is necessary for this recipe.
You may be tempted to open and try them earlier. Just know that letting out all the gases too early and letting oxygen in could mess things up and ruin your pickles.
Enjoy!

After about 3 weeks you can open and taste your pickles.
Be sure to open the jars SLOWLY! They will erupt all over your counter if you aren’t careful. Carbonation is a real factor when fermenting.
If you used cabbage, discard it and don’t try eating it. There might even be some mold on it. This is normal and is the reason behind making sure your pickles stay submerged throughout the process.
Time To Refrigerate
When at long last you have finally opened and tasted your pickles, simply put what’s left in the fridge. Your new pickles will keep for several months when stored this way.
That is… if they last that long.
If you are using Mason Jars with the special fermentation lids, simply replace them with reusable lids.
Congratulations! You have successfully made fermented pickles. We hope you enjoy them! If you tried this recipe please let us know what you think in the comments below. Cheers!

Final Tips
Although unlikely, if you discover a white residue forming at the top of the brine it is safe. It is most likely yeast that has formed. You can just scrape it off.
There could even be some mold on the surface of the brine. The general consenus is that, so long as your pickles have remained below the brine, they are safe. Thus, you could scrape it off and enjoy your pickles.
However, this is entirely up to you. Just be aware this is somewhat common when fermenting. If it doesn’t pass your own smell/taste test, toss it and try again.
If you choose to open your jars early to test if the pickles are done, you expose them to oxygen. This can allow bad bacteria to form inside the jars causing mold. For this reason, patience is encouraged.
3 weeks is a long time, but it’s worth the wait!
*** Last but not least, plan on your jars leaking as the gasses force their way out. Keep them in a place where the brine won’t stain what they’re sitting on, or set them on a plate or something.